
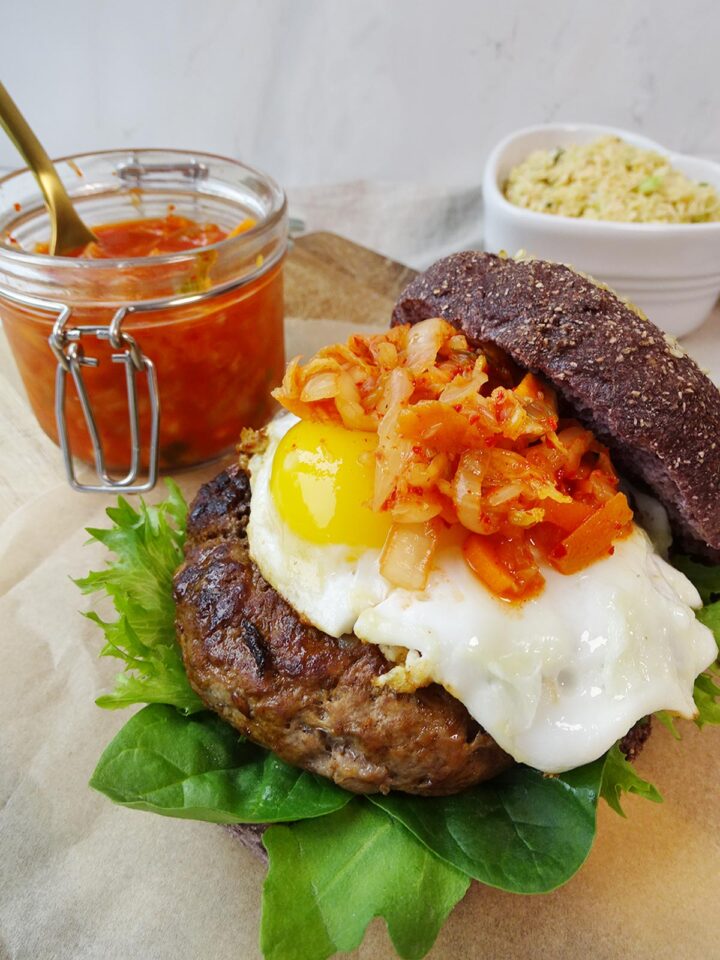
This low carb gluten free kimchi burger recipe is the perfect high-protein, gut-friendly upgrade to your usual burger night. Packed with flavour, easy to assemble, and made with clean ingredients, these burgers deliver serious satisfaction without the crash.
This recipe uses my gluten-free burger bun recipe and pairs perfectly with my crunchy, creamy dairy-free coleslaw without mayo.
Jump to:
? Why You'll Love This Recipe
- Naturally keto, low carb, gluten free, and Candida Diet-friendly, this gluten-free kimchi burger recipe is sure to be a crowd pleaser whatever your diet restrictions are.
- As well as buckets of flavour, kimchi adds a probiotic boost that supports gut health.
- High in protein and healthy fats for steady energy and balanced blood sugar.
- Quick to prepare and freezer-friendly - the burger patties are ideal for meal prep.
- Tastes indulgent but uses simple, nourishing whole-food ingredients.
? Ingredients

Burger Assembly:
- Fried egg - one required per burger. Make sure the yolk is still runny for added sauciness!
- Kimchi - as I'm in the UK I usually get the Vadasz kimchi (unfortunately it is a plastic container) but I have also enjoyed Yutaka (more authentic, made in Korea) and Biona (note that Biona has the most sugar per 100g). Just check the ingredients to make sure that the kimchi has whole ingredients and no added sugar. Although carrots are not usually permitted on a candida diet, the quantities and sugar content are very low as you can see in the nutritional info above.
- Lettuce or mixed leafy greens
- Gluten and yeast free burger buns
For the Burger Patties:
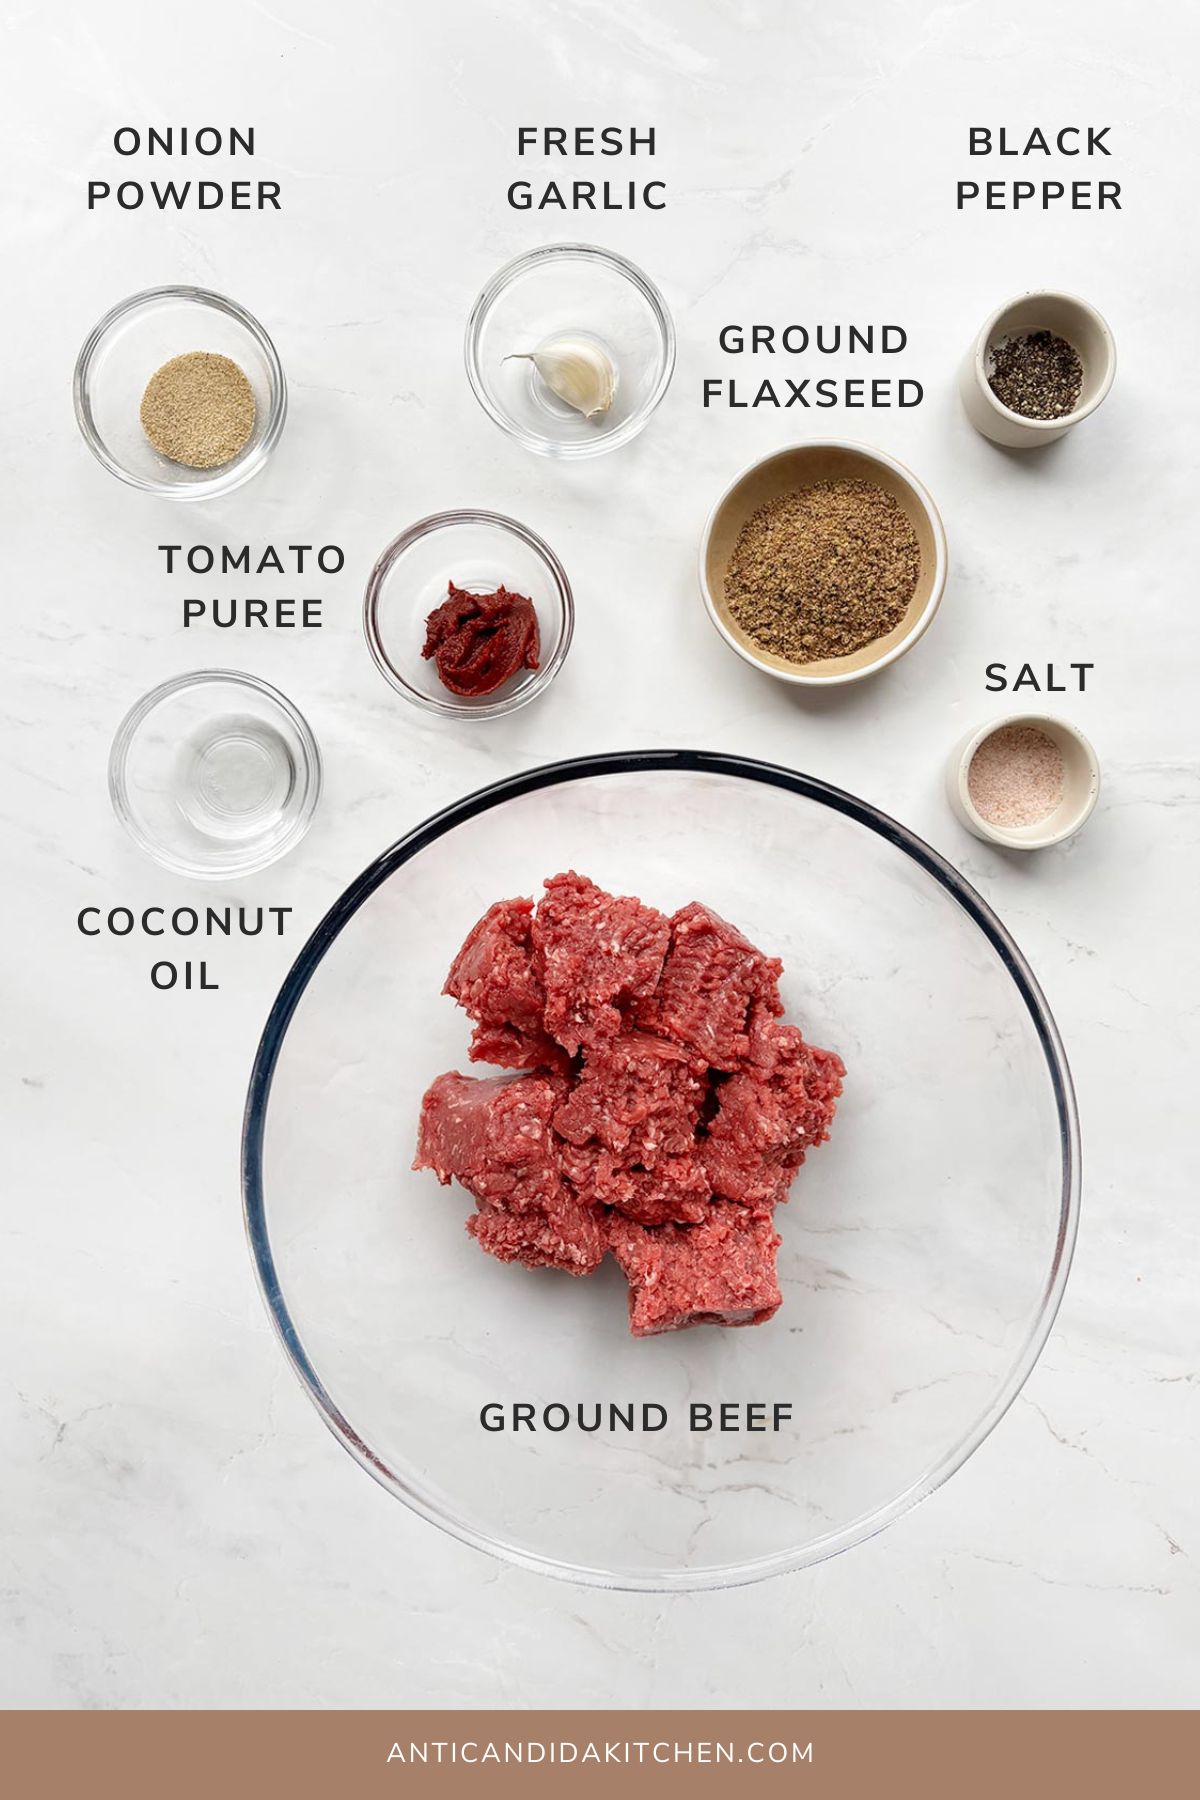
- Coconut oil for frying.
- Grass-fed / organic ground beef - forms the high-protein, juicy base. Opt for lean or extra-lean and organic.
- Tomato puree adds richness, moisture and sweetness.
- Fresh garlic – builds savoury depth and is a great anti-fungal vegetable on the Candida diet.
- Onion powder
- Black pepper - essential for beef burgers!
- Flaxseed helps bind the patties naturally while adding a bonus dose of fibre.
- Salt
For the Burger Buns:
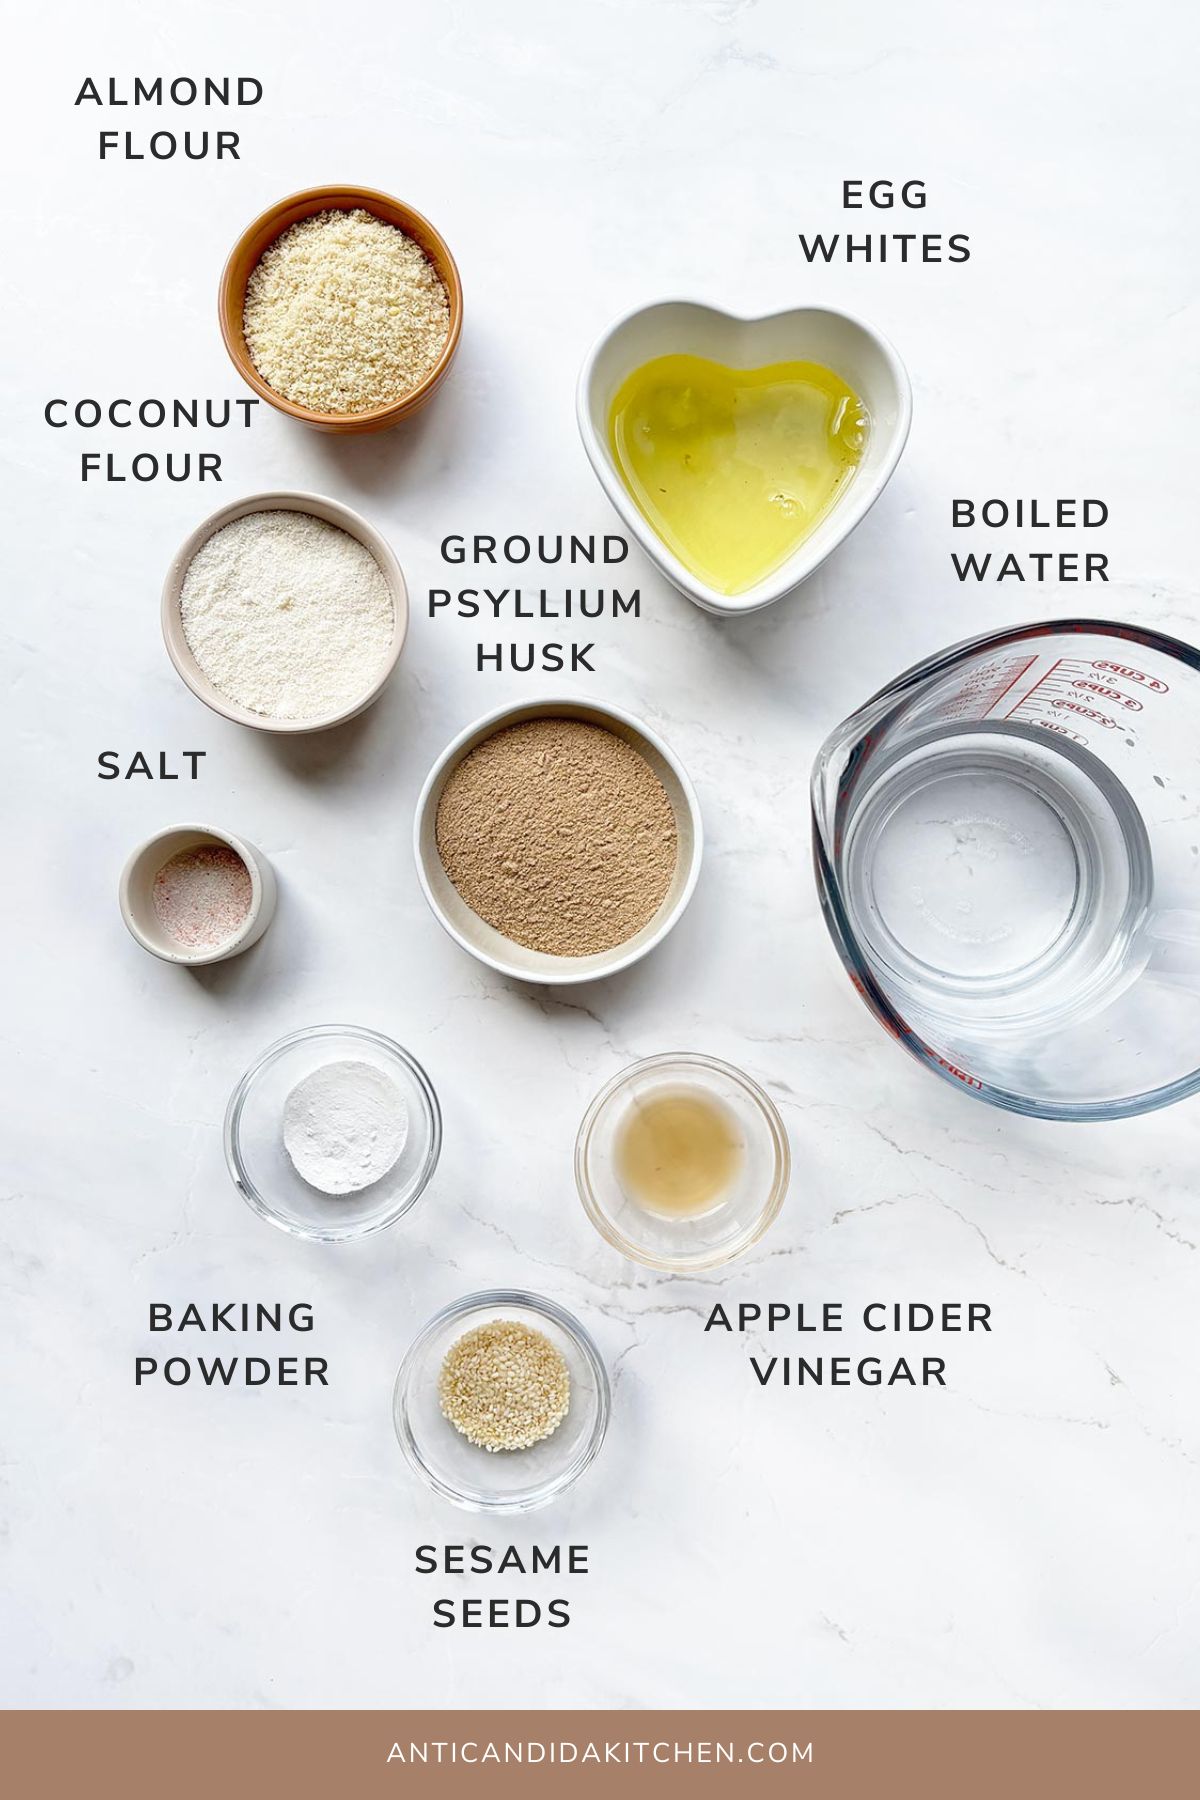
- Almond flour for richness and a mild nutty flavour
- Coconut flour to lighten the texture and reduce cost
- Psyllium husk powder for structure and fibre
- Egg whites for binding and lift
- Apple cider vinegar to activate the baking powder
- Baking powder to create a light rise
- Salt
- Pumpkin seeds or sesame seeds (optional) for a rustic topping
See recipe card for quantities.
?️ What is Kimchi?
Kimchi is a traditional Korean fermented dish made from vegetables - most commonly cabbage and/or radish - mixed with seasonings like chilli, garlic, ginger and salt. It’s naturally tangy, spicy and full of umami. Because it’s rich in probiotics, antioxidants and enzymes, kimchi supports gut health, digestion and immune function.
In this recipe, kimchi adds the perfect hit of heat and acidity to balance the rich beef burgers, giving these burgers a Korean-inspired twist that’s still completely low carb and Candida Diet friendly.
? How to Make a Gluten Free Kimchi Burger
Make the Burger Buns:
1. Preheat your oven to 175°C (347°F).
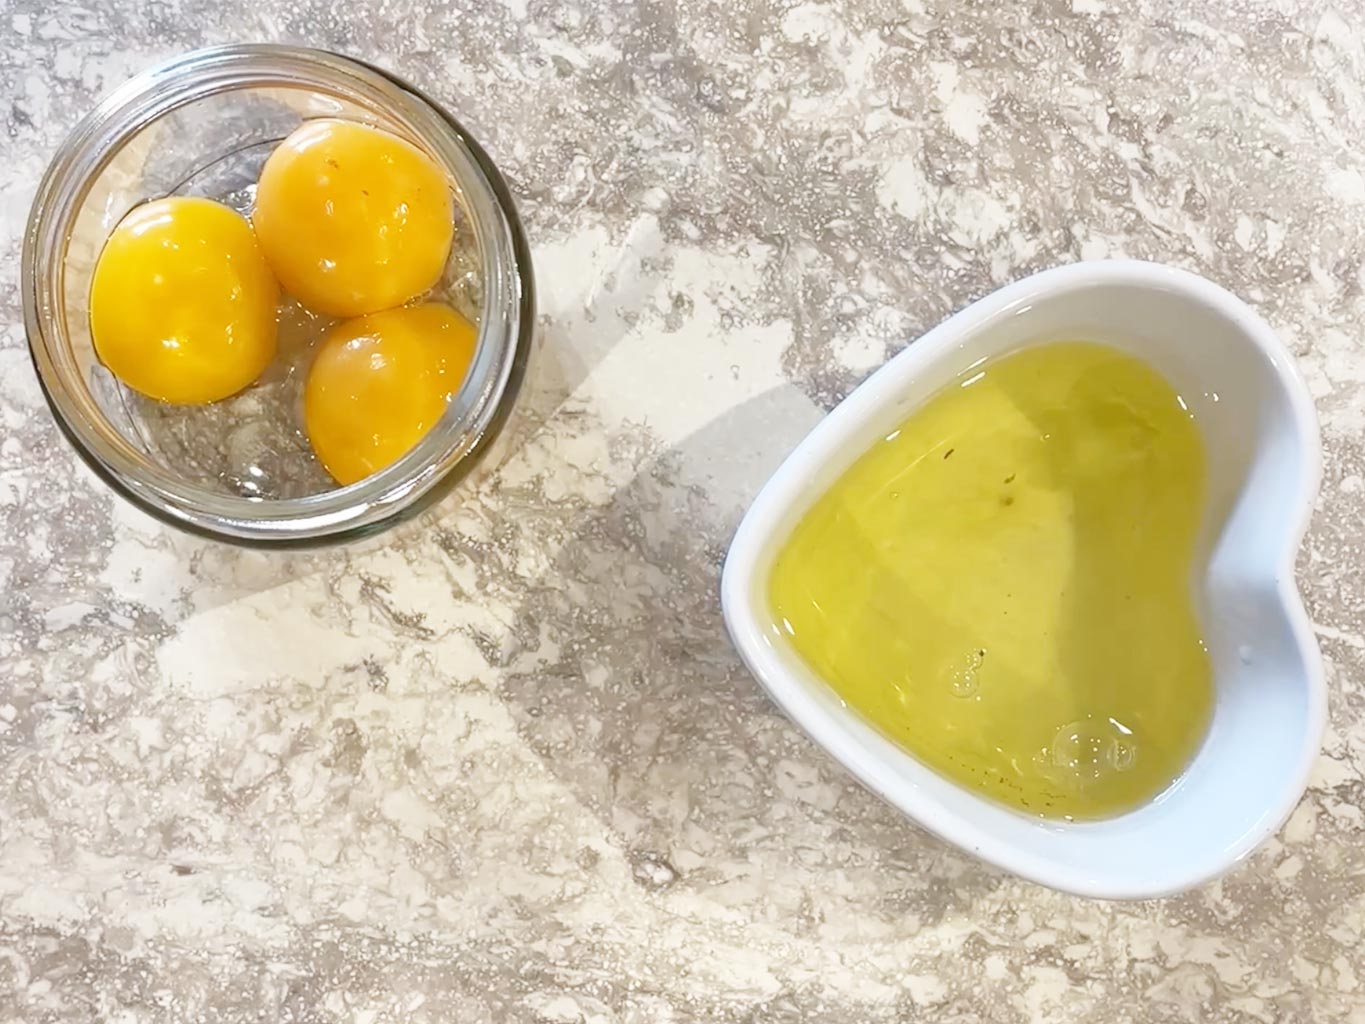
Separate the egg whites and whisk them lightly with the apple cider vinegar.
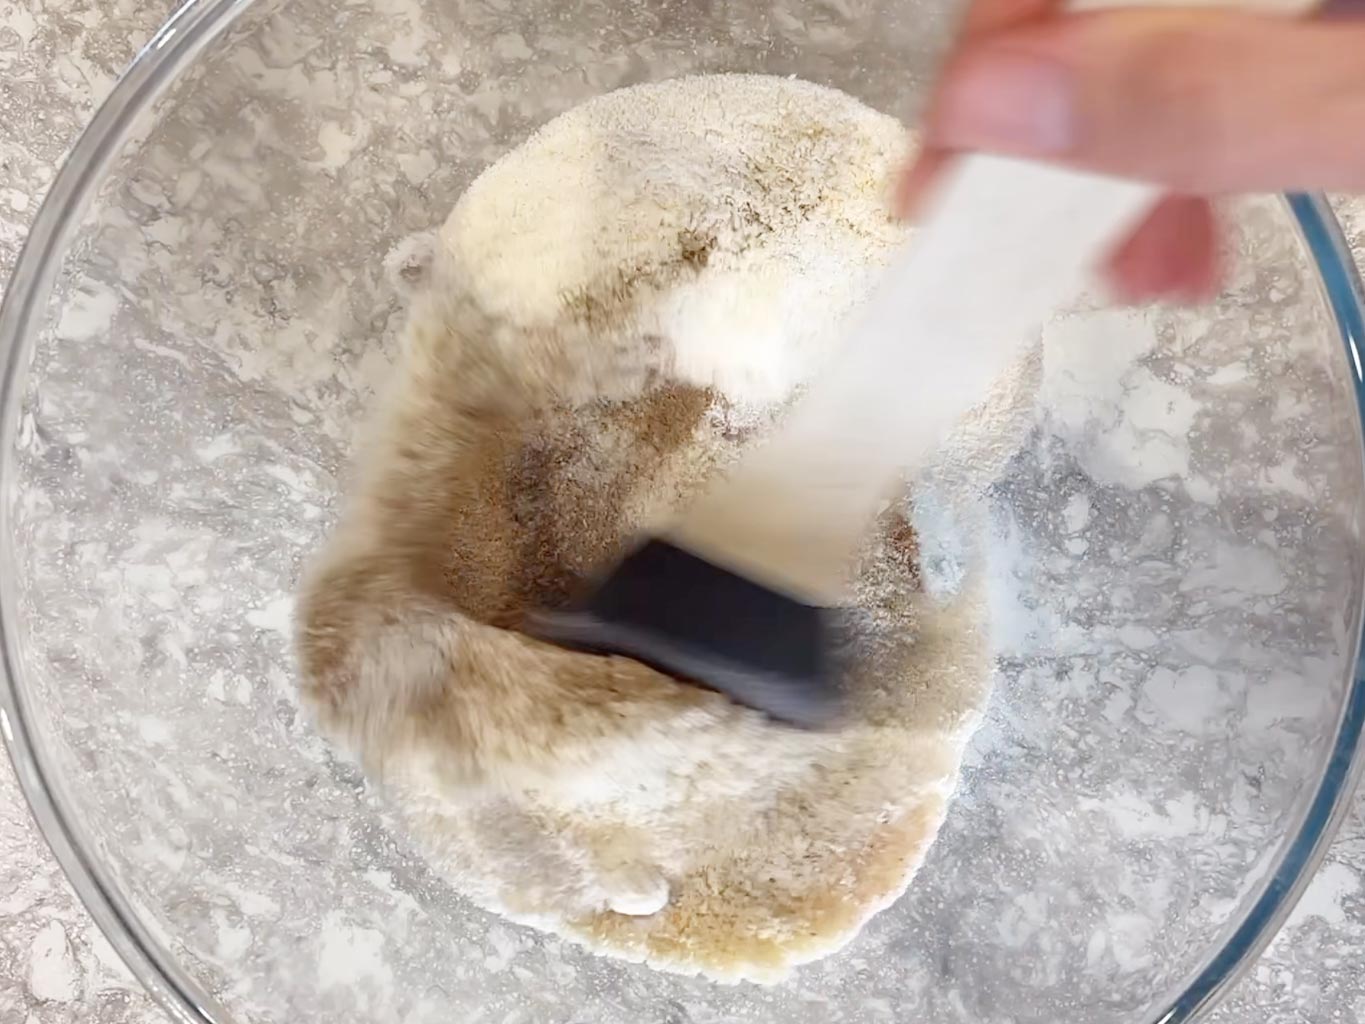
2. In a large bowl, combine almond flour, coconut flour, psyllium husk powder, baking powder, and salt.
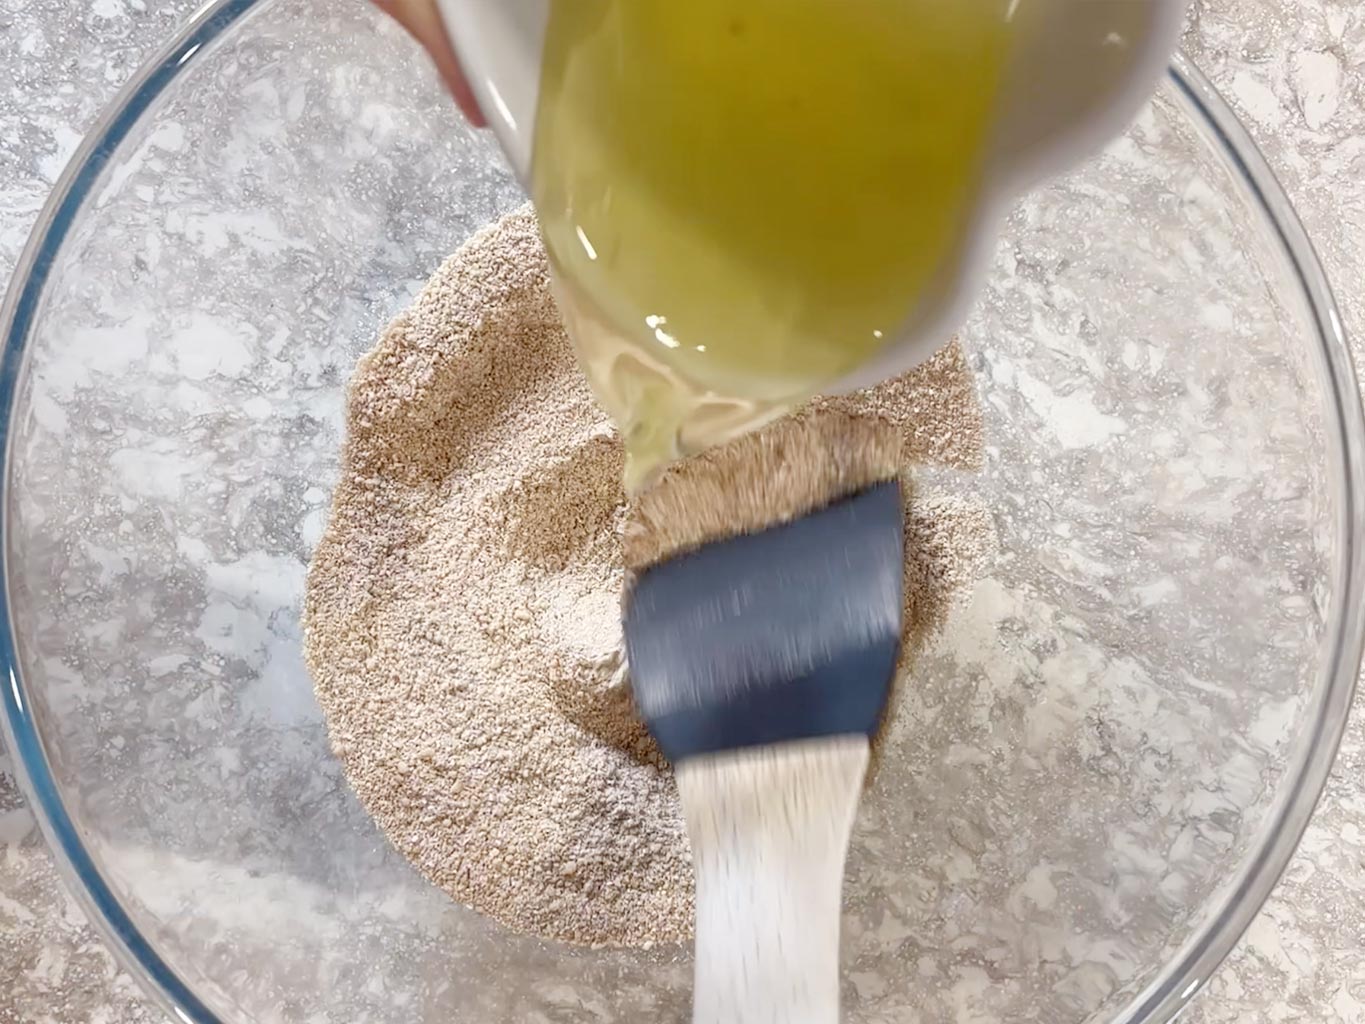
3. Measure out 235 ml freshly boiled water. Add the wet ingredients to the dry mix and combine gently. Next, gradually pour in the hot water while mixing.

4. Once the dough thickens to a gel-like texture, divide it into 4-6 equal portions.
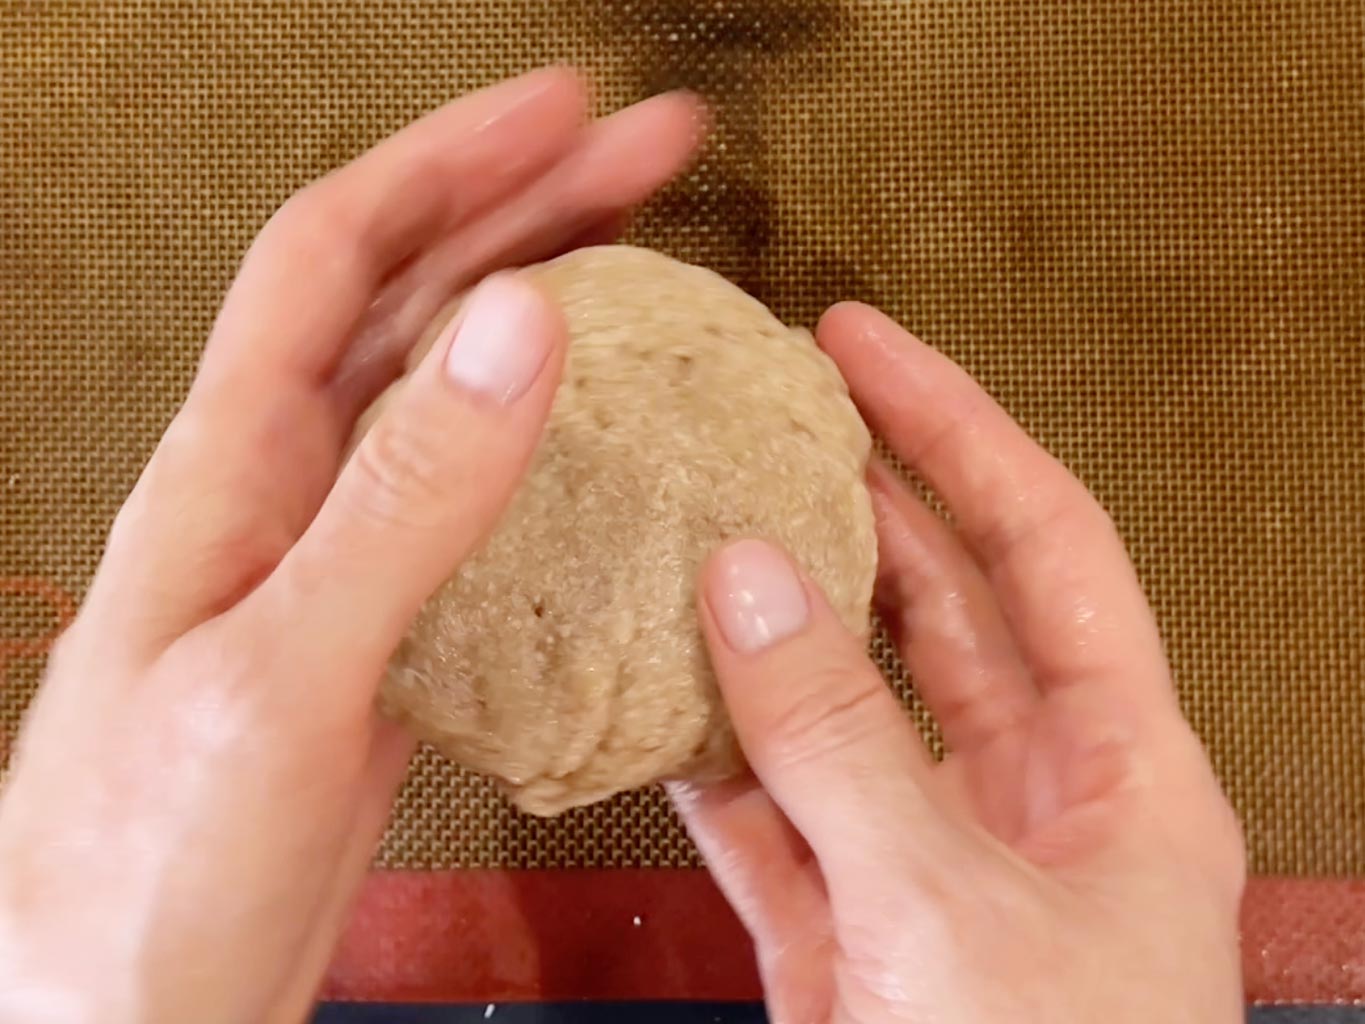
5. Shape each portion into a bun about 2 cm thick and place on a lined baking tray.
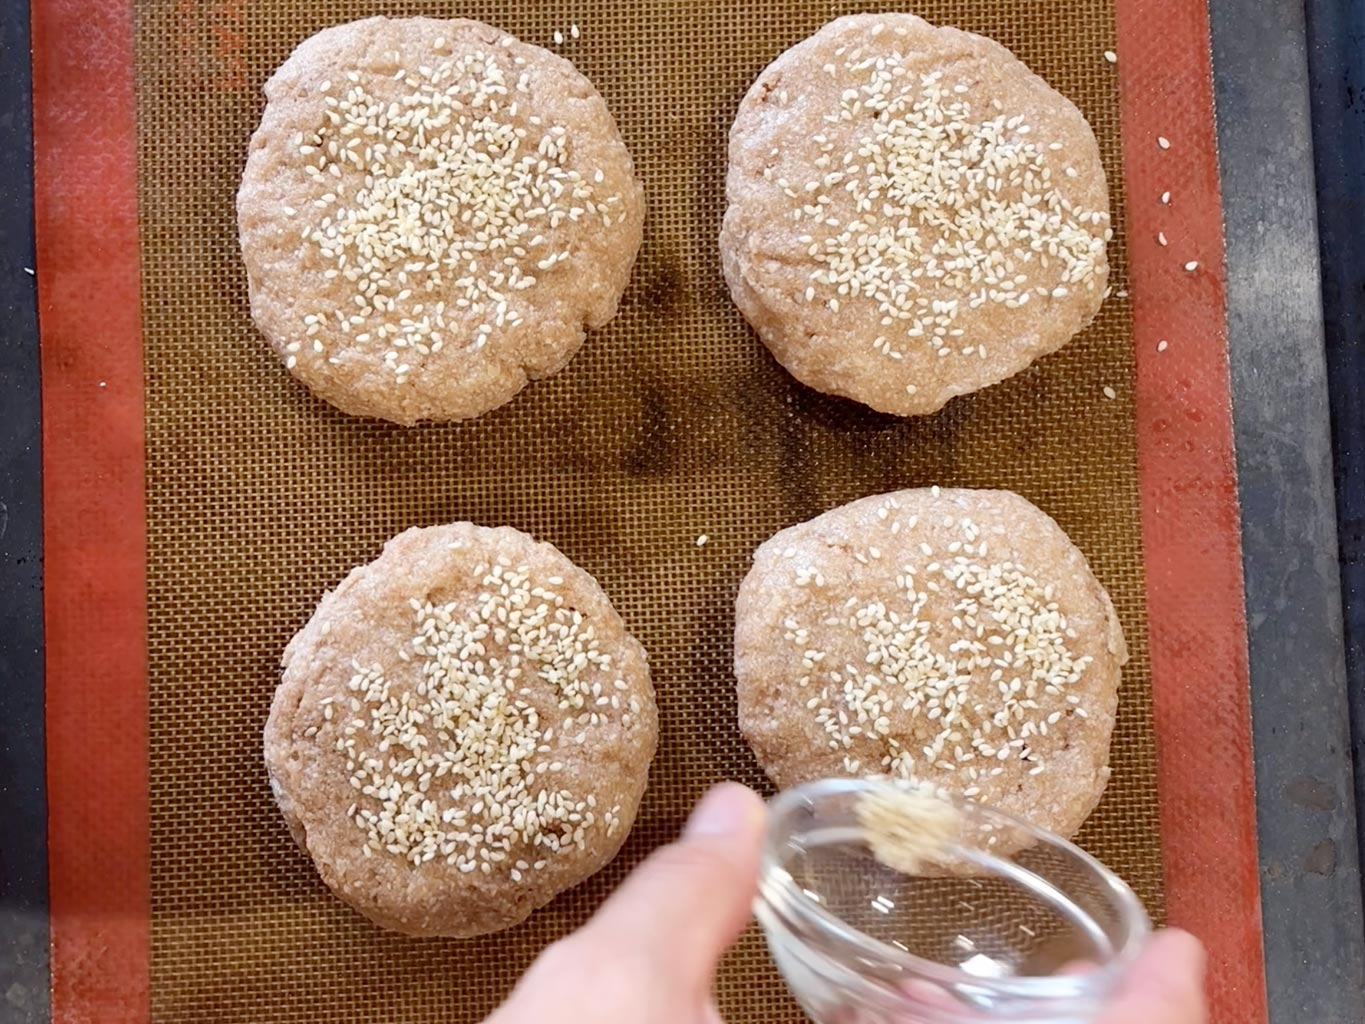
6. Add pumpkin seeds or sesame seeds if desired, pressing them in gently to help them stick.
Bake in the bottom shelf of the oven for 40 minutes.
Hint: check out the full blog post for my low carb burger buns recipe for extra tips and information including some of the health benefits of psyllium husk powder.
Make the Burgers:

1. Add the raw ground beef, tomato purée, salt, fresh garlic, onion powder, black pepper, and flaxseed to a large bowl and mix with your hands until evenly combined.

2. Divide the mixture into four equal portions. You can use kitchen scales for perfectly even patties.
If the recipe was made using 500g / 1.1lb beef, each patty will weigh approximately 135g / 4.75oz. Simply divide the total mixture by four.

3. Wet your hands if needed to prevent sticking, then gently shape each portion into a round, flat patty about 1cm (½ inch) thick. I like to use a round lid to help to flatten and shape into a circle. You can also use a burger press.
Layer the shaped patties between squares of baking paper so they don’t stick together. Keep them chilled, freeze for later, or cook immediately.

4. Heat a frying pan or griddle over medium–high heat and add the coconut oil.
Cook each patty for around 3 minutes per side, then set aside while you prepare the toppings.

5. Slice the burger buns then using the same pan, toast the inside of the burger buns for a few seconds to absorb flavour and warm through and fry the required number of eggs (one per patty).

6. Assemble: add lettuce to the bottom bun, place a burger patty on top, layer with a freshly fried egg and finish with a generous spoonful of kimchi.
? Substitutions
Beef: You can swap for turkey mince or chicken mince - just ensure that the burgers are well-cooked throughout (74°C or 165°F using a meat thermometer). Note that the tomato purée will give a slightly pink colour to the patties - the meat thermometer will tell you for sure if they meat is cooked to a safe temperature.
Buns: Don’t have the time or ingredients to make the buns just yet? Serve bun-less or over a bed of crispy lettuce.
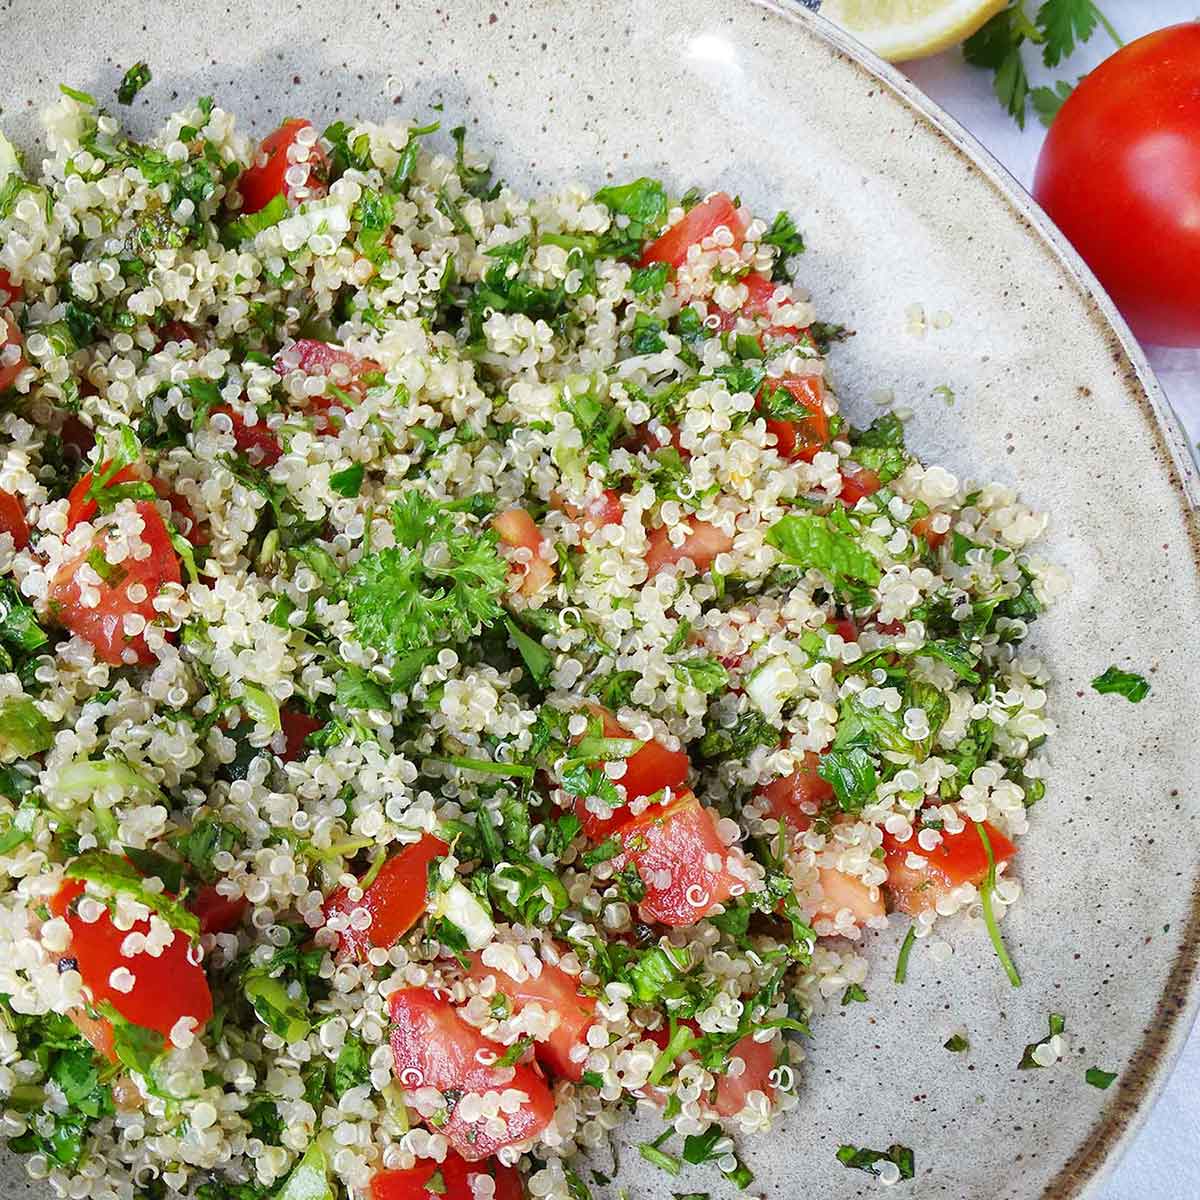
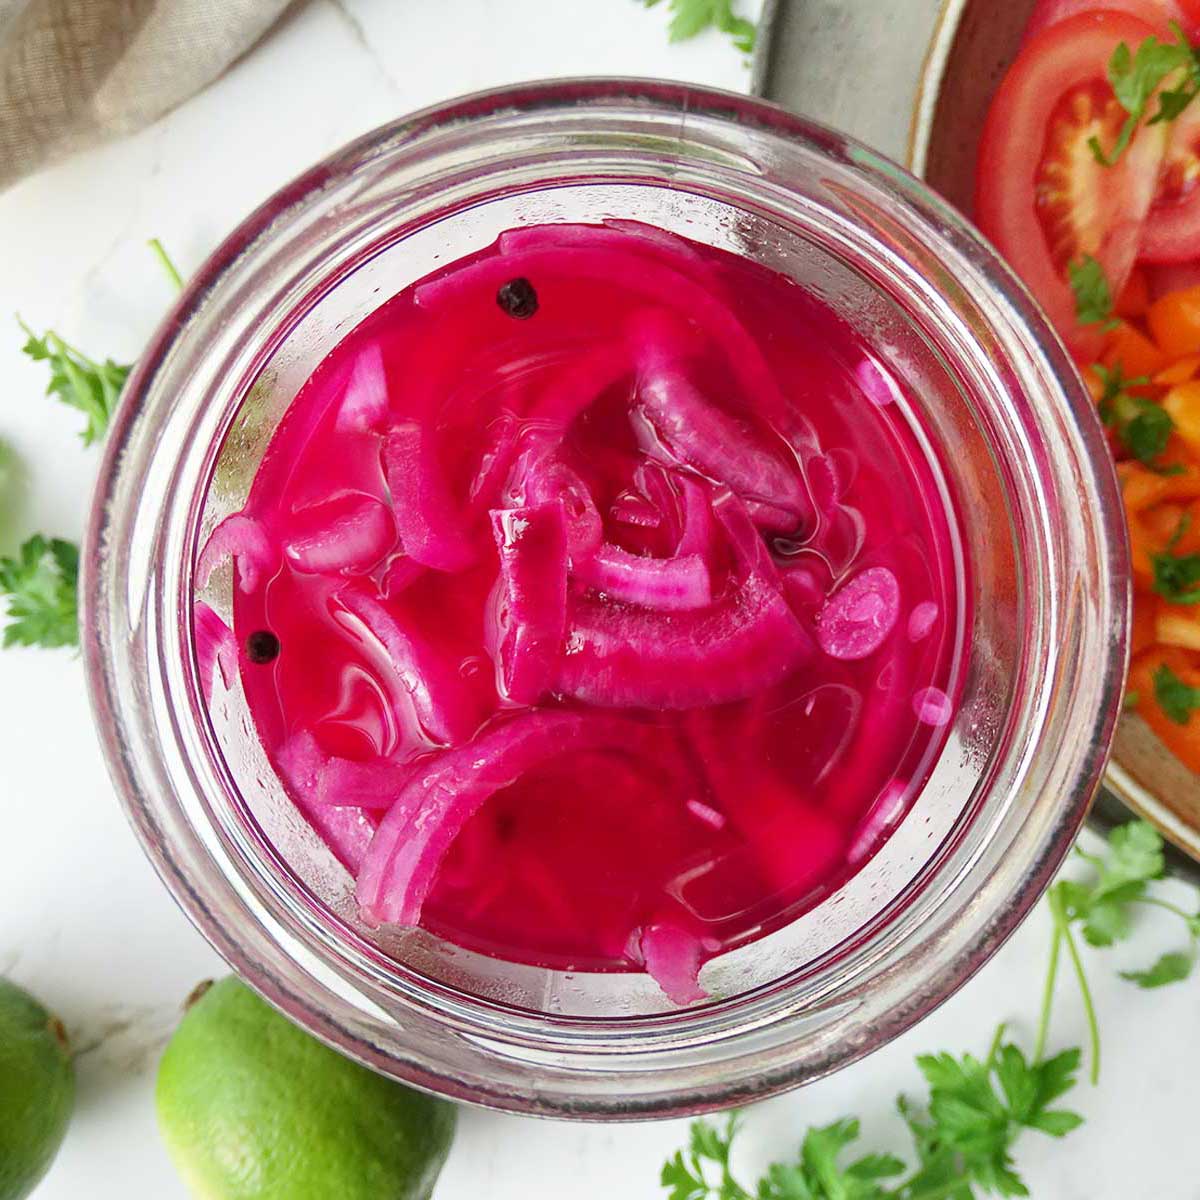
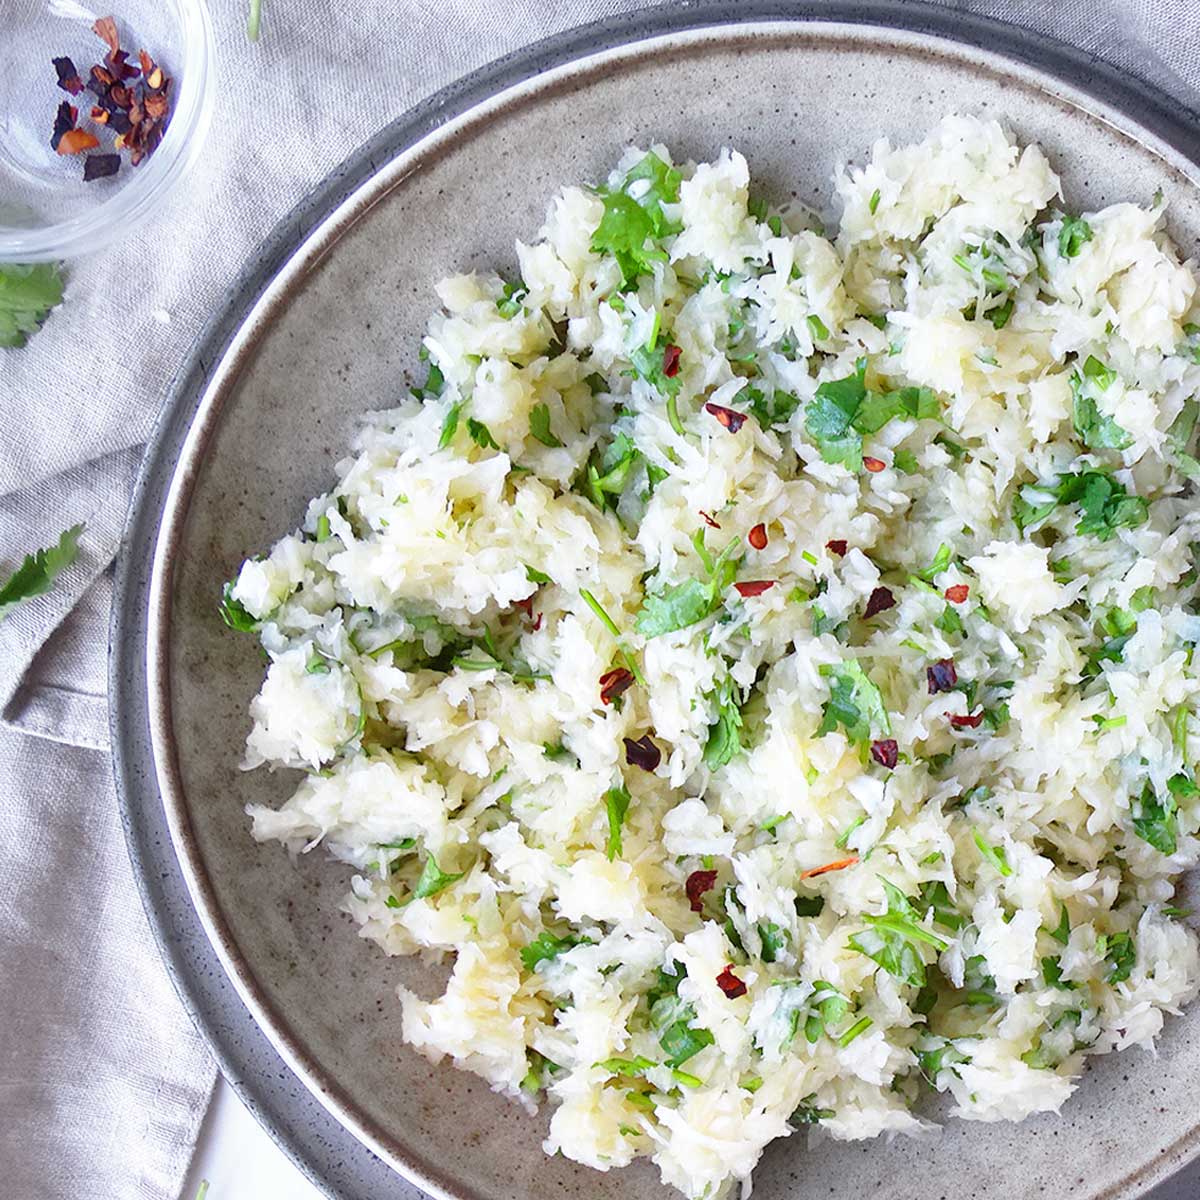
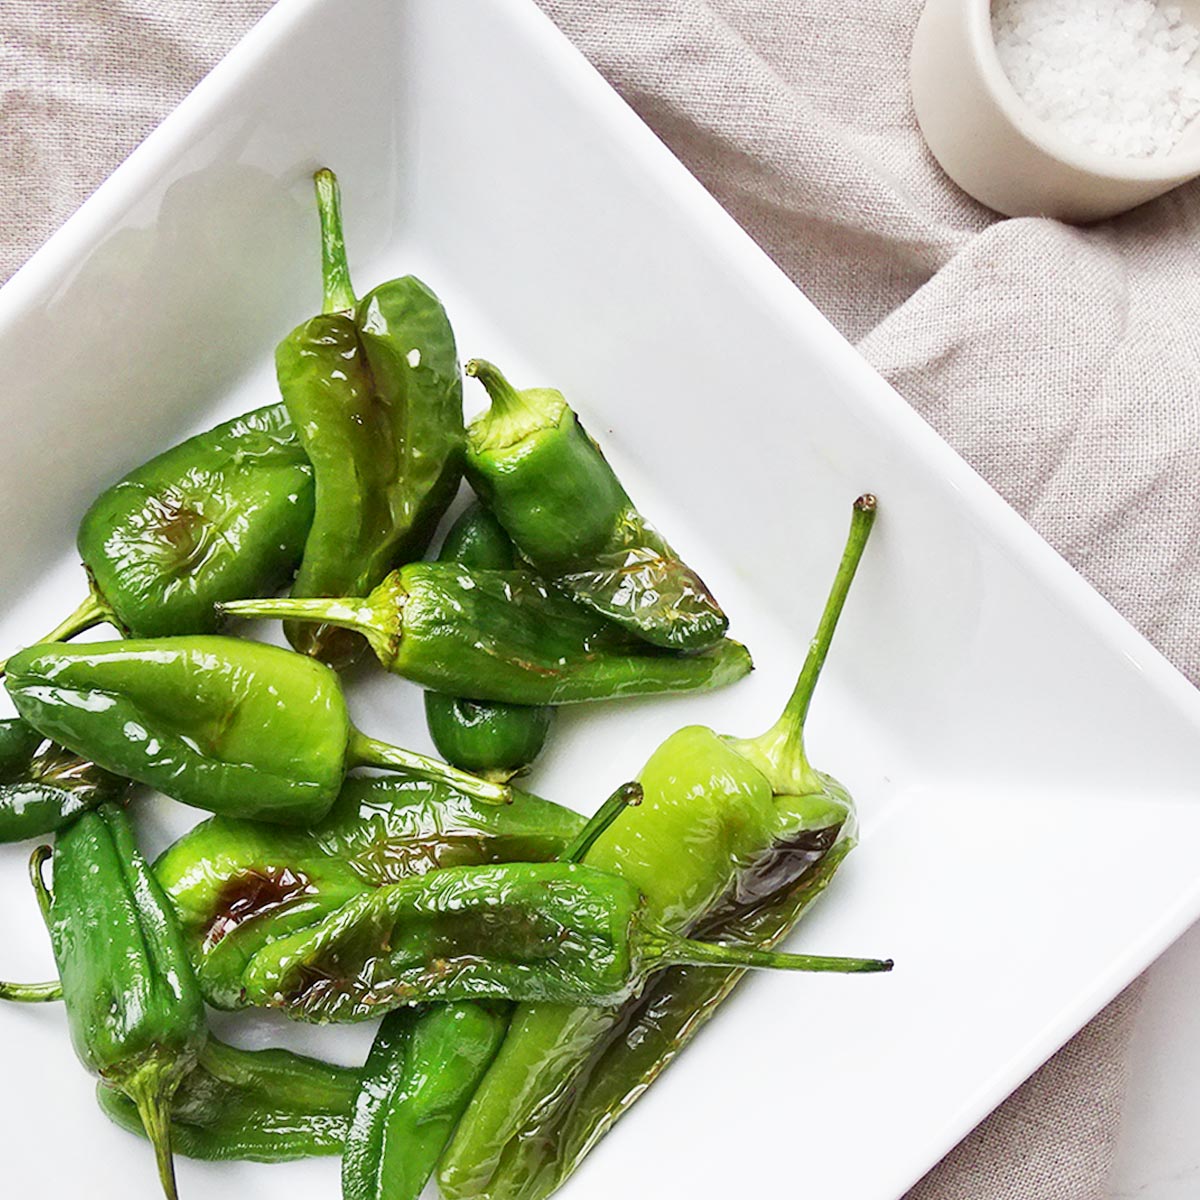
? What to Serve with Your Gluten Free Kimchi Burger

? Storage
The raw patties freeze well for up to 3 months, whereas cooked patties can be refrigerated for 3-4 days.
Assembled burgers are best enjoyed immediately due to the kimchi and fried egg.
The burger buns store well in the fridge for up to 3-5 days or in the freezer for up to 6 months.
Slice before freezing and separate each slice with parchment paper. For best results, thaw in the refrigerator.
❓FAQ
Choose an unpasteurised kimchi (which retains the live, beneficial bacteria) made without added sugar or gluten. Traditional napa cabbage kimchi works perfectly, but you can also use radish kimchi if you prefer a sharper flavour. Check labels to make sure it’s made with clean, simple ingredients.
Yes! You can shape the patties ahead of time and refrigerate them for up to 24 hours or freeze them for up to 3 months. If freezing, separate patties with parchment paper so they don’t stick. Cook straight from the fridge or thaw before frying for the best texture.
Did you make this recipe? Please let me know how it turned out for you! Be sure to rate and leave a comment below, alternatively, tag @anti_candida_kitchen on Instagram with the hashtag #anticandidakitchen. Happy cooking!
? Related
Looking for other recipes like this? Try these:


Gluten Free Kimchi Burger Recipe (Keto-Friendly)
Ingredients
- For the gluten free Burger Buns: Optional
- 40 g almond flour
- 28 g coconut flour
- 40 g powdered psyllium husk
- 2 teaspoon baking powder
- ⅛ teaspoon salt
- 3 egg whites medium
- 2 teaspoon apple cider vinegar
- 235 ml water, freshly boiled
- 1 tablespoon pumpkin seeds or sesame seeds optional
- For the Burger Patties:
- 500 g organic ground beef 5% fat, extra lean
- 20 g tomato purée
- ¼ teaspoon salt
- 1 clove fresh garlic
- 1 teaspoon onion powder
- ¼ teaspoon ground black pepper
- 2 tablespoons flaxseed
- ½ tablespoon coconut oil for frying
- Burger assembly:
- 8 tablespoons kimchi
- Lettuce or mixed salad leaves
- 4 eggs fried
- 4 burger buns
Instructions
- If using, make the burger buns as follows (or see blog post for low carb burger buns):
- Pre-heat your oven to 175°C/347°F.
- Separate the egg whites from three eggs. Refrigerate the yolks to use in another recipe.
- Add the apple cider vinegar into the egg whites and whisk gently to combine.
- Boil enough water to measure out exactly 235ml of freshly boiled water. I recommend weighing your water instead of using a jug for preciseness. 235ml of water is equal to 235g of water.
- In a large bowl, combine the almond flour, coconut flour, powdered psyllium husk, baking powder and salt.
- With the boiling water measured and ready to use, add the egg white and vinegar mixture to the dry ingredients and mix to combine. Next, add the boiling water little by little while continuing to mix. Try not to over-mix. I like to use a rubber spatula for this as it is easy to gather all of the mixture from the sides of the bowl.
- The mixture will begin to thicken very quickly to an almost gelatinous consistency.
- Use your spatula to divide the mixture into either 4 or 6 equal portion, depending on the size of buns that you would like.
- Add each portion to a baking sheet lined with a silicone baking mat or parchment paper.
- Wet your hands with water and briefly form and flatten the dough so that it resembles patties (approx 2cm thick).
- If desired, add seeds such as pumpkin seeds to each patty, pressing the seeds in gently with your fingers to stick.
- Bake in the bottom shelf of the oven for 40 minutes. The buns will quadruple in size and you know they are cooked when the underside is dry and feels hollow.
- Leave to cool slightly before enjoying still warm (be careful of steam in the buns!). If you intend to use them for sandwiches or burger buns allow them to cool fully before slicing.
- Make the burger patties:
- Add all patty ingredients to a large bowl. Use your hands to gently mix until everything is evenly combined.
- Divide the mixture into four equal portions. For accuracy, you can weigh them - your mixture should total about 540 g (19 oz), so each patty should be around 135 g (4.75 oz).
- Wet your hands if needed to prevent sticking, then shape each portion into a round, flat patty about 1 cm (½ inch) thick. A burger press or the lid of a large jar works well to make them uniform.
- Stack the shaped patties between squares of baking paper to prevent sticking. You can refrigerate, freeze for later, or cook immediately.
- Heat a frying pan or griddle pan over medium–high heat. Add the coconut oil.
- Fry each patty for 3 minutes per side, then set aside.
- Slice your burger buns length-ways and briefly fry the cut sides in the hot pan to warm them and absorb some of the juices. Lay the open bun on your serving plate of choice. You can now fry your eggs, one for each burger.
- Assemble your burger with a layer of lettuce or mixed salad leaves, followed by the burger patty, followed by the fried egg and finally 1-2 tablespoons of kimchi.
Notes
Last step! If you make this recipe, will you do me a huge favour and leave a ⭐⭐⭐⭐⭐ review letting me know what you thought? It really helps! Thanks for your support!!
Nutrition
Disclaimer: Nutritional info is approximate and for general guidance only. Unit conversions are automatically generated and may not be accurate.


Leave a Reply