If you’ve been struggling to find sugar free chocolate chips that you can enjoy on your candida diet which does not contain dairy, sugar or other unwanted ingredients, this sugar free dark chocolate chip recipe is exactly what you need!
These homemade chocolate chunks are sweetened with xylitol instead of sugar so are perfect for adding to your favourite sugar-free recipes without sabotaging your healing journey.
Enjoy the convenience of having a stash on hand when those chocolate cravings strike.

If you want to make some delicious candida-diet friendly, vegan chocolate but don't have any cocoa butter to hand, don't worry! This sugar free chocolate recipe uses a base of coconut oil instead.
Jump to:
💚 Health Benefits of Cacao
Raw cacao, the key ingredient in this recipe, offers numerous health benefits. Packed with antioxidants and minerals, cacao supports heart health and brain function.
Its natural compounds may even boost your mood and enhance feelings of well-being.
Cacao powder is also a surprising source of protein, boasting around 27g per 100g.
🍫 Difference Between Cacao and Cocoa
Understanding the distinction between cacao and cocoa is vital. While the terms are often used interchangeably, cacao typically refers to minimally processed, raw forms of the bean.
On the other hand, cocoa often implies more highly processed versions. Opting for cacao ensures you retain maximum nutrients and purity, free from added ingredients such as sugar.
It’s always a good idea to double check the ingredients label before purchasing your cacao products.
📋 Ingredients
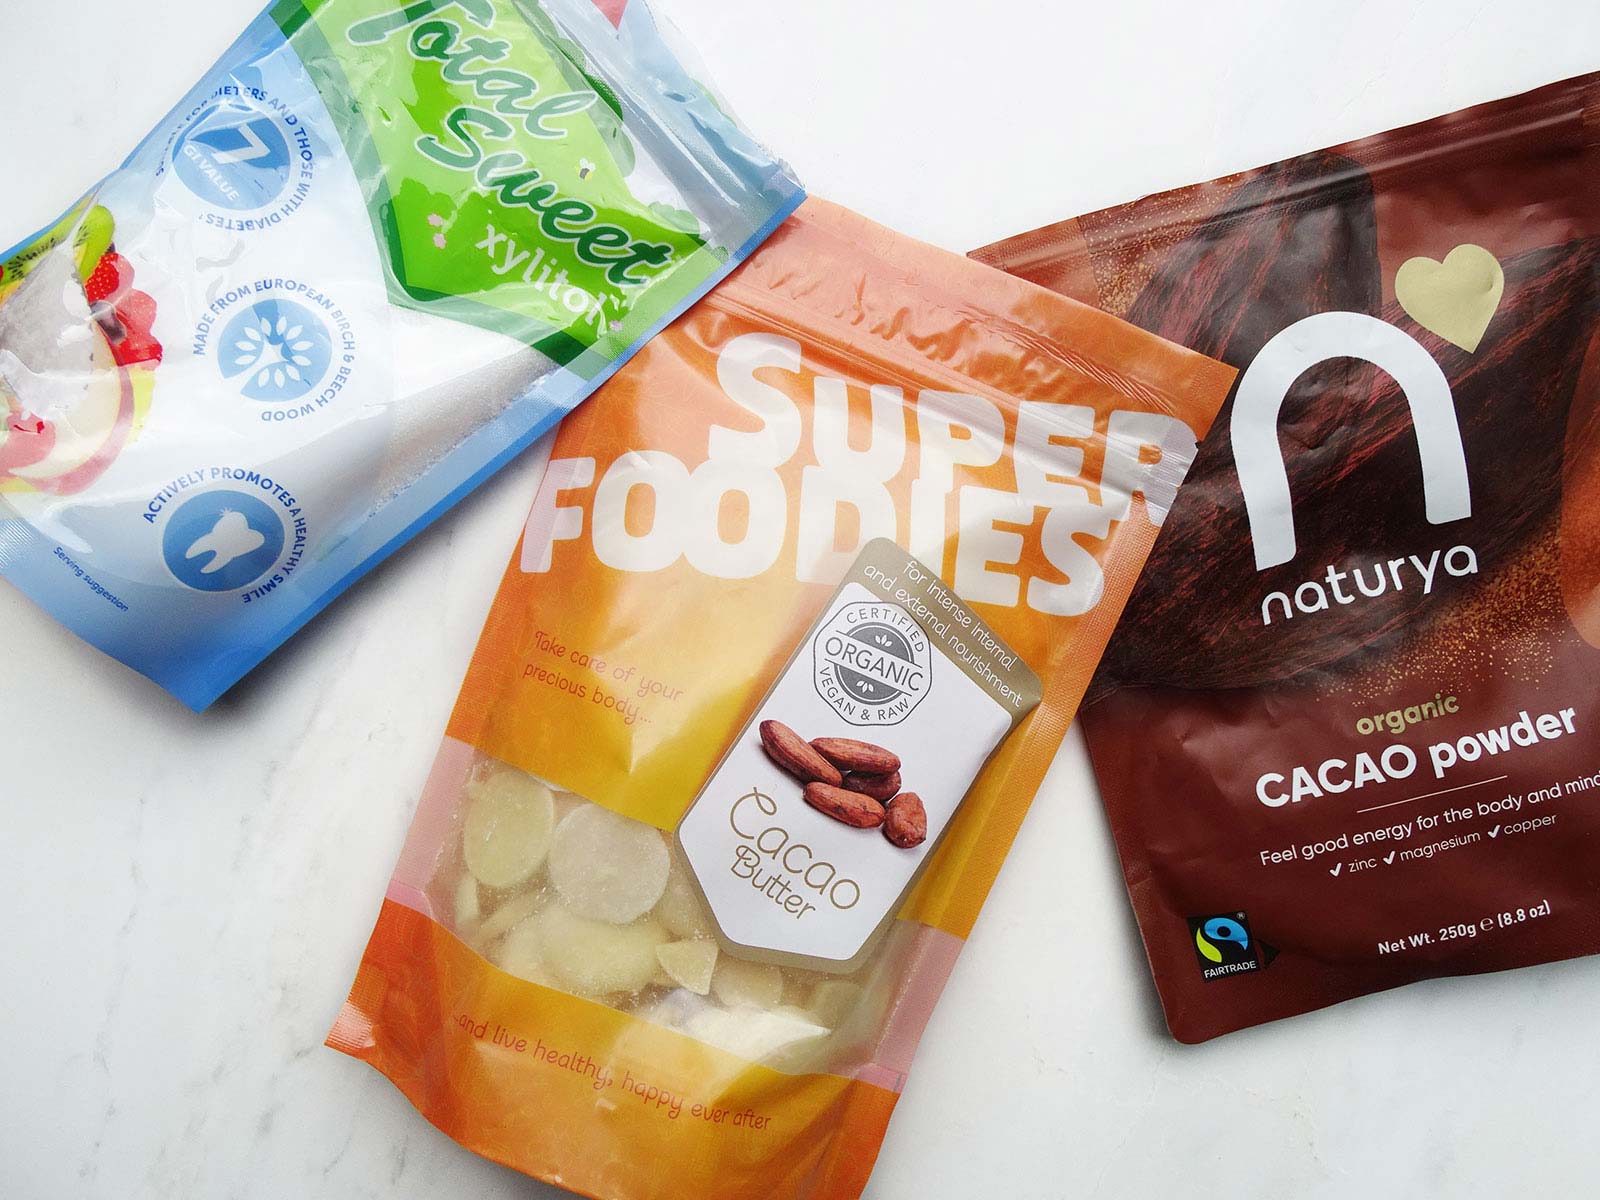
The base of this recipe couldn't be simpler. All you need is:
- Organic cacao butter
- Raw organic cacao powder
- Powdered xylitol
- Pure vanilla powder or vanilla extract for flavour
See recipe card for quantities.
🥣 Instructions

- Begin by melting your cacao butter until it transforms into a clear, deep yellow liquid. This can be done gently on the stovetop or by placing a bowl inside another bowl of freshly boiled water and allowing it to sit for around 10 minutes. You know it’s ready when you can’t see any more white lumps in the liquid cacao butter.
- While you wait for the cacao butter to melt, line a loaf tin, or narrow baking tin with flat parchment paper, ensuring it lays flat without wrinkles. Chill the tin in the refrigerator.
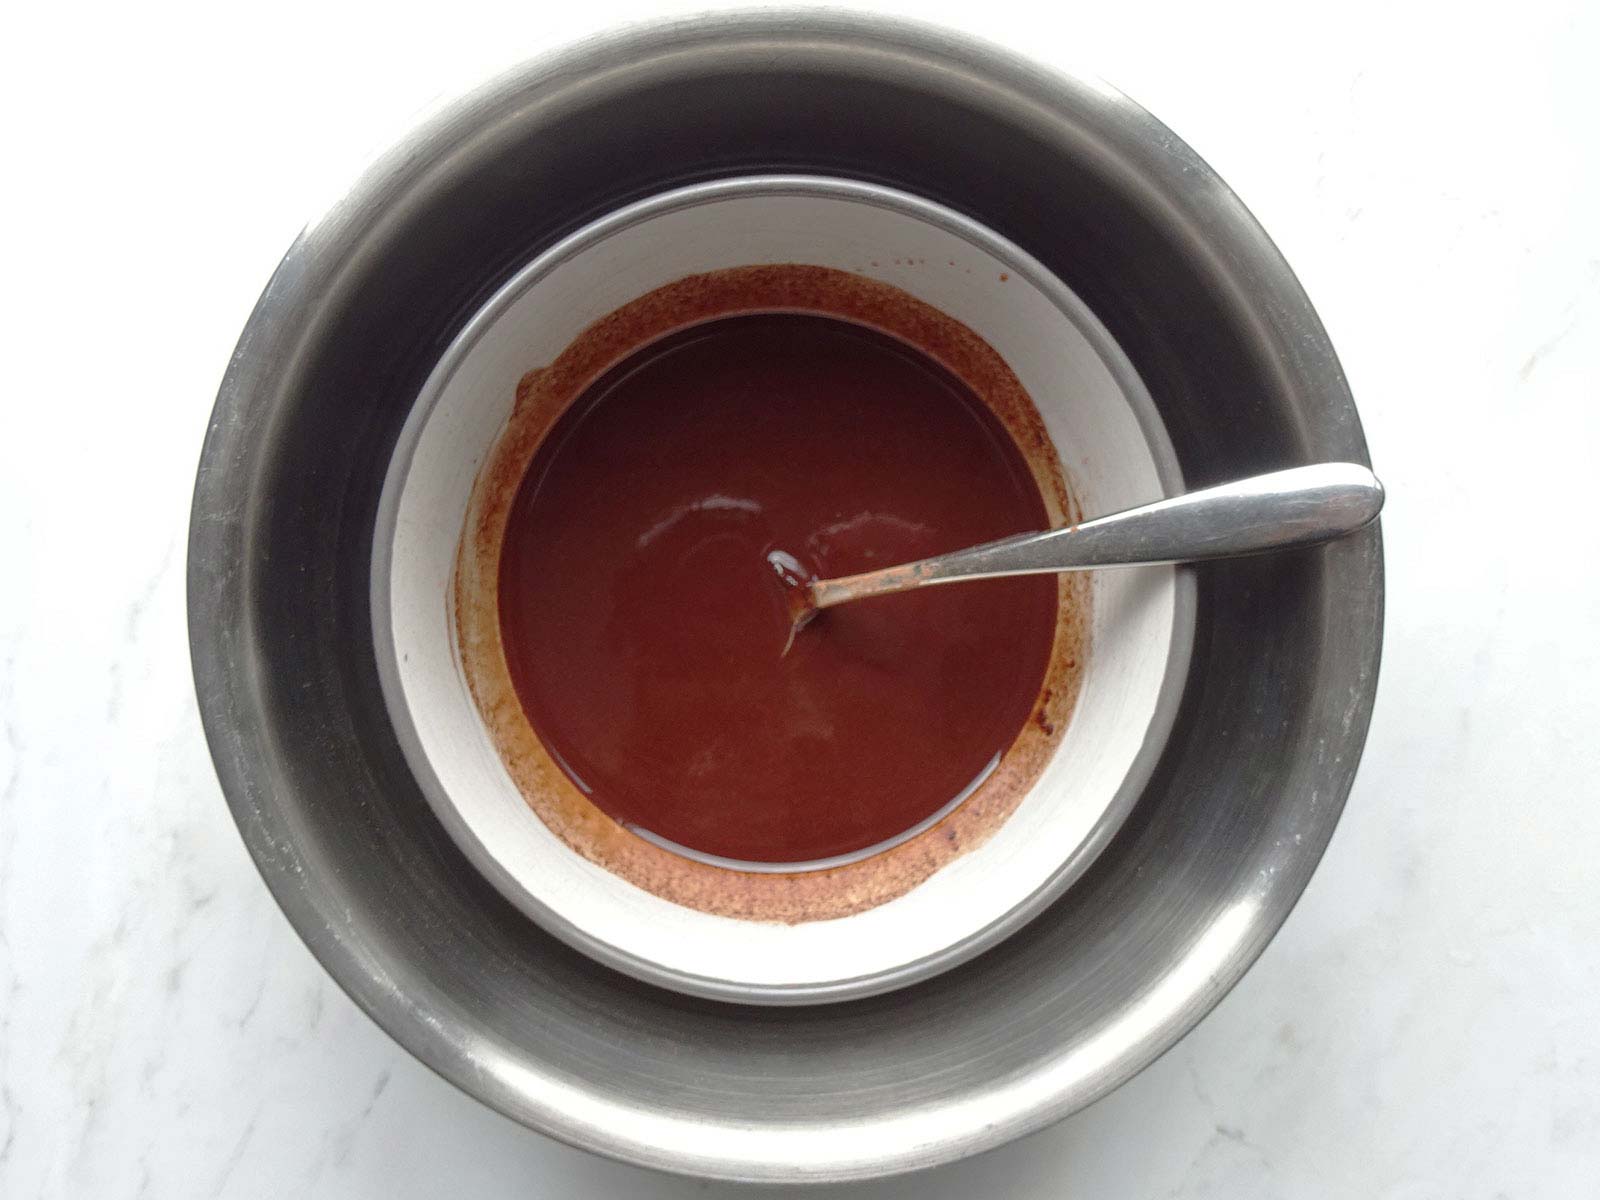
3. While the tin is chilling, combine the cacao powder, powdered xylitol, and vanilla powder. Whisk the mixture thoroughly to eliminate any lumps. If your cacao powder and / or xylitol has a lot of clumps, consider sifting it through a fine mesh sieve before adding to the cacao butter.
4. Retrieve the lined loaf tin from the refrigerator and pour the melted chocolate into it, creating a layer around 1cm thick. If you have a chocolate chip silicone mould you could use this instead. If using a mould, place the mould on a chopping board first so that it is easy to transfer to the refrigerator.
5. Place the tin (or chocolate mould) back in the refrigerator and allow the chocolate to set for at least 5-10 minutes.

6. Once the chocolate is set, gently lift the slab from the tin and place it on a chopping board.

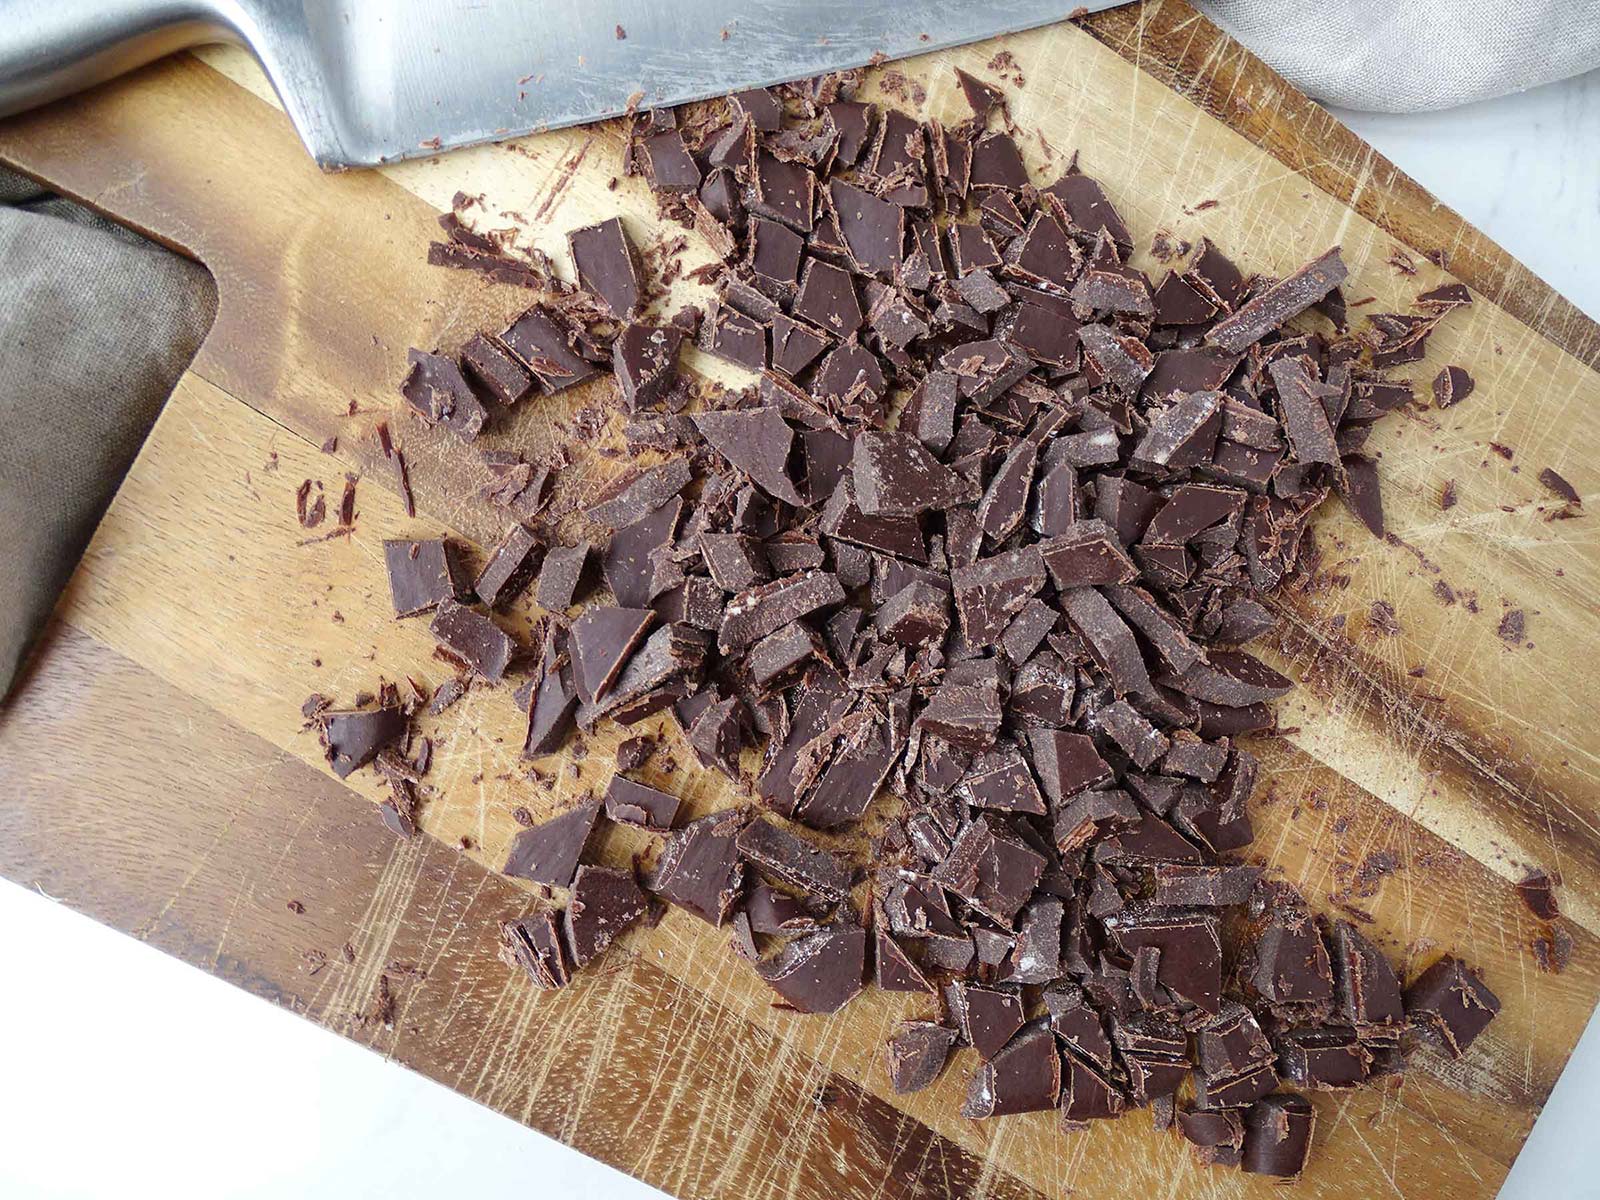
7. With care, chop the chocolate slab vertically or diagonally to craft small, delectable chocolate chunks. Store your homemade chocolate chips in an airtight container for delightful use.
Hint: in this recipe I use powdered xylitol because it dissolves better into the chocolate. You can make your own powdered xylitol at home easily by simply blending small batches of granulated xylitol.
💫 Substitutions
- For a different flavour profile, experiment with adding a pinch of sea salt or a touch of almond extract.
- If xylitol is unavailable, substitute with your preferred sugar-free sweetener.
⚖️ Variations
Get creative with your chocolate chips by incorporating natural extracts like orange or peppermint, or even stirring in a sprinkle of shredded coconut.
This recipe makes more than chocolate chips, you could also create your own chocolate bars, bark or dip your favourite treats into such as these Matcha Ice Creams.
🥄 Equipment
Standard kitchen tools are all you need for this recipe, including a bowl, whisk, and a loaf tin or narrow baking tin. You could also get creative with fun silicone chocolate moulds.

🥡 Storage
Your homemade chocolate chips can be stored at room temperature, however, storing in the refrigerator or freezer will maximise the shelf life and freshness of the chocolate.
Stored in the refrigerator they will keep for at least 3 months and in the freezer, this will be extended to 6 months to a year.
✨ Top Tip
- For the best result, use high-quality organic cacao butter and cacao powder. Ensuring they're free from additives guarantees you'll enjoy pure, unsweetened chocolate chips.
- Ensure that you melt the cacao butter slowly and on a low heat so as not to burn it.
❓ FAQ
Absolutely! These chocolate chips are perfect for baking cookies, brownies, or adding to your favourite granola recipe.
Yes! Despite the name, cocoa butter is indeed 100% plant based and vegan.
Stored in an airtight container in a cool, dry place, your homemade chocolate chips can last for several weeks. They can also be frozen for longer freshness.
This sugar free chocolate chip recipe appears in my Candida Diet Dessert cookbook Healing Desserts, get your copy today!
More Sugar Free Chocolate Recipes
Looking for other chocolate recipes? Try these:
Candida Diet Dessert Recipes
Still fancy something sweet? Give one of these dairy, gluten and sugar free options a try:
Sugar Free Chocolate Chips - Easy Unsweetened Vegan Chocolate Recipe
Ingredients
- 125 g organic cacao butter
- 60 g raw organic cacao powder
- 3 tablespoon powdered xylitol
- ½ teaspoon pure vanilla powder
Instructions
- In a bowl, melt your cacao butter until all the white lumps have disappeared and you are left with a clear deep yellow liquid. You can either do this on the hob on a very low heat, or by placing a bowl inside a bowl of freshly boiled water and leaving it for 10 minutes.
- Line a loaf tin or narrow baking tin with flat parchment paper (do not scrunch). Add the tin to the refrigerator to chill.
- Meanwhile, add the cacao powder, powdered xylitol and vanilla powder and stir thoroughly with a whisk so that all the lumps are removed. If your cacao powder is very lumpy, you may want to sieve it through a fine mesh sieve first.
- Remove the lined loaf tin from the refrigerator and pour your melted chocolate into the loaf tin, you will want the chocolate layer to be around 1cm thick.
- Return the loaf tin filled with chocolate to the refrigerator and leave to set for at least 5-10 minutes.
- Once set, lift the chocolate slab from the loaf tin and place onto a chopping board.
- Chop the chocolate slab vertically or diagonally to create small chocolate chunks and store in an airtight container.
Notes
Stored in the refrigerator they will keep for at least 3 months and in the freezer, this will be extended to 6 months to a year.
Last step! If you make this recipe, will you do me a huge favour and leave a ⭐⭐⭐⭐⭐ review letting me know what you thought? It really helps! Thanks for your support!!



Leave a Reply